Table of Contents
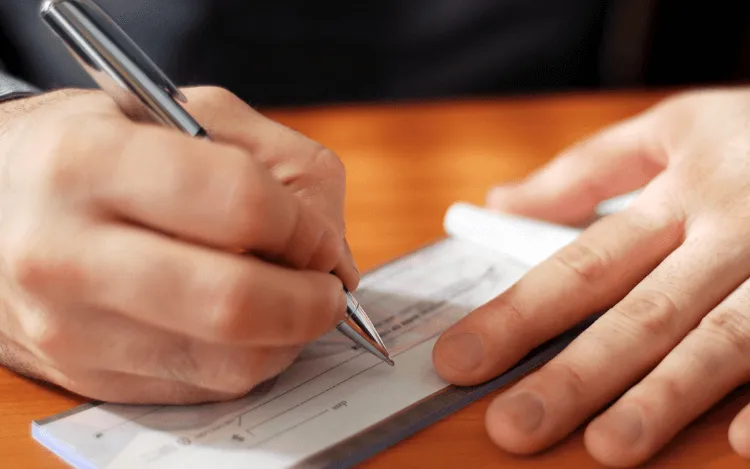
Learning how to write a check is an important life skill.
These days, you can pay for most expenses with cash or a credit card. Still, there are many situations in which you’ll need to use a paper checkbook.
You might need to write a check to pay your bills, to send money to a friend, or to pay your taxes, just to name a few examples.
If you’ve encountered one of these situations, and you’re wondering how to write a check, you’re not alone.
In this article, we’ll give you a step-by-step tutorial on how to write a check in an easy, painless way.

ProWritingAid makes great writing easy
Easily improve your emails, reports, content, cover letters, and more.
How to Write Checks
If you want to pay using a check, you’ll need to own a checkbook. You can order checks from an online merchant, or you can order a checkbook directly from your bank or credit union.
Most banks will give you the first few checks for free, so if you only need to write a few checks, you can start with the free ones. If you’ll need to write a lot of checks in the future, you’ll get more bang for your buck by ordering in bulk.
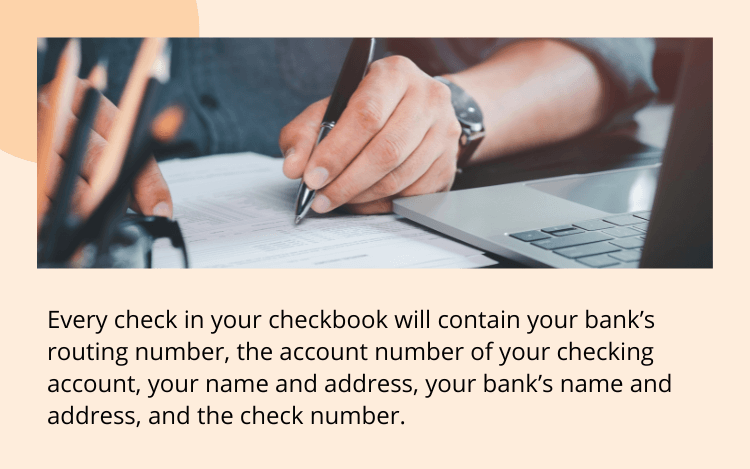
Every check in your checkbook will contain your bank’s routing number, the account number of your checking account, your name and address, your bank’s name and address, and the check number. This information is already printed on your blank checks, so you don’t have to write it out every time.
To write a check correctly, you’ll need to fill out six fields:
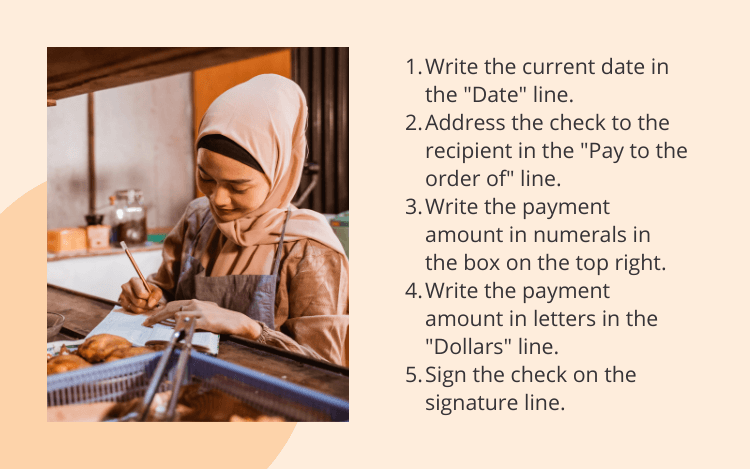
Write the current date in the “Date” line.
Address the check to the correct recipient in the “Pay to the order of” line.
Write the payment amount in numerals in the box on the top right.
Write the payment amount in letters in the “Dollars” line.
Sign the check on the signature line.
Include an optional note in the “For” or “Memo” line.
It doesn’t matter what order you do these steps, as long as they’re all complete by the time you give the check to its recipient.
How to Fill Out a Check in 6 Steps
Filling out a check correctly can be a confusing process if you’ve never done it before, so let’s take a closer look at how each step works.
1. How to Write the Date
In the upper right-hand corner of the check, you should write today’s date. That will help both you and the recipient keep track of when this check was delivered.
Some people choose to write a future date if they want the recipient to wait for a while before they deposit the check, but that doesn’t always work out the way you want it to. The recipient is still allowed to cash the check at any time, regardless of which date you’ve written on the check.
In general, it’s best practice not to give someone a check until you’re ready for it to be cashed.
ProWritingAid makes great writing easy
Easily improve your emails, reports, content, cover letters, and more.
2. How to Address a Check
Every check has a line that says, “Pay to the order of.” That’s where you need to write the name of the person or organization you’re sending this money to.
For example, you might write “Jane Smith” if you’re sending the check to someone named Jane Smith, or you might write “Smith & Co.” if you’re sending the check to a company.
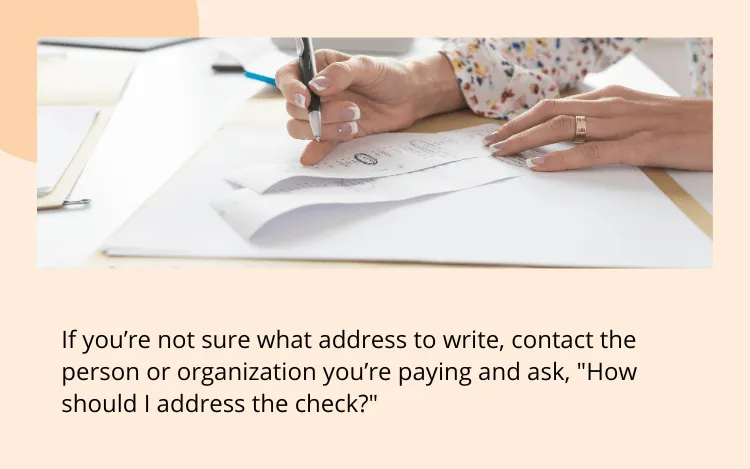
It’s important to write the correct name here because if you don’t, the recipient’s bank might decline the check. If you’re not sure what to write in this line, you should contact the person or organization you’re paying and ask, “How should I address the check?”
3. How to Write the Dollar Amount on a Check (Numerals)
There are two separate places you’ll need to write the dollar amount you’re paying to the recipient.
The first place is in a small box on the right-hand side of the check, which usually has a dollar sign in front of it. That’s where you should write the dollar amount in numerals. For example, you might write “22.00” in this box if you’re writing a check for twenty-two dollars.
Start writing on the very left side of the box. If you leave room between the number and the left hand side of the box, the recipient could potentially commit fraud by adding another digit to the beginning of the number. Most recipients wouldn’t do this, of course, but it’s always better to be safe than sorry.
4. How to Write the Dollar Amount on a Check (Letters)
The second place you need to write the dollar amount is on the line below the “Pay to the order of” line, which usually has the word “Dollars” written after it.
On this line, you should write the dollar amount in letters, to ensure there’s no confusion about how much money you’re paying.
For example, you might write “Twenty-two dollars and 00/100” on this line if you’re writing a check for twenty-two dollars.
It’s best practice to use all capital letters for this step, since it’s easier to read and harder to alter later.
If you still have space on the line after you’ve finished writing, fill that space with a horizontal line so nobody can add in more words later. Again, it’s always better to be safe than sorry.
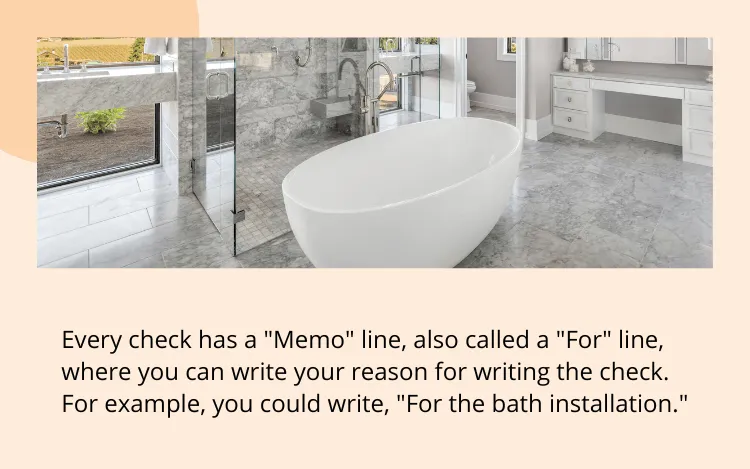
5. How to Fill Out the Memo Line
Every check has a “Memo” line, also called a “For” line, where you can write your reason for writing the check or any other information the recipient needs.
For example, you might write “For June’s utility bill” if you’re using the check to pay your utility bill for the month of June.
Alternatively, you might write an account number to ensure the company credits your payment to your account.
If you don’t need to include any other information, it’s okay if you leave this line blank. The check will still work either way.
6. How to Sign a Check
A check isn’t valid unless it’s signed by the payer.
You should sign your check on the line in the bottom right corner. Make sure you use the same signature that’s on file at your bank so they can prove it’s legitimate.
Check Writing Tips
Now that we’ve walked through all the steps involved in writing a check, here are our top tips for making sure your payment goes through smoothly.
Tip #1: Check Your Checking Account Balance
If you write a check for a dollar amount higher than what you currently have in your bank account, the check will bounce. That means it’s rejected by the bank of the person who tried to cash the check.
When your check bounces, you might have to pay an overdraft fee or a penalty fee for having nonsufficient funds (NSF).
You could even be charged with a misdemeanor or a felony if you knew the check was going to bounce before you wrote it, since it’s a crime to write bad checks on purpose.
So, always check your bank balance before you write a check.
Tip #2: Keep a Check Register
It’s important to keep your own personal finance records so you can refer to them later.
Your bank statement will show you some basic details about each check you’ve written, such as how much money was withdrawn and when. However, it won’t have all the necessary information you might need later on.
We suggest keeping a check register with all the key details of each check you write, such as who you paid, why you paid them, the date you paid them, and the full dollar amount. That way, it will be easy to access the information when you need it.
If someone claims you haven’t paid them on time when you actually did, or if you have less money in your account than you expected and you’re not sure why, your check register will help you get to the heart of the issue and keep your checkbook balanced.
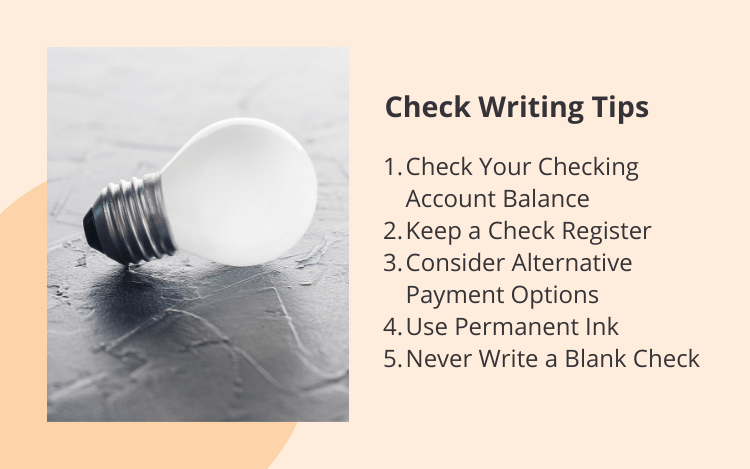
Tip #3: Consider Alternative Payment Options
Writing a check isn’t the easiest way to make payments. It can be useful to look for alternative options before you decide to pull out your checkbook.
For example, you can try using electronic funds transfers (EFTs) which are bank-to-bank transfers that you can use as long as you know your routing and account numbers. You can also try using your debit or credit card, which might even let you earn cash back or reward points.
In many cases, you’ll be able to pay your bills online instead of writing paper checks. You can even set up automatic payments for any regularly recurring bills so you don’t have to go through the same process every month.
Tip #4: Use Permanent Ink
You should always fill out your checks with a pen, not with a pencil. That way, nobody can change the dollar amounts you’ve written to try to take extra money from you.
Tip #5: Never Write a Blank Check
A blank check is a check you hand to someone without filling out every field to let them fill out those fields on their own. You might be tempted to do this if you’re not sure how much something is going to cost or if you’re not sure who to address a check to.
Unless you have a limitless bank account, writing a blank check is very risky. It gives the recipient free rein to write in anything they want, with or without your authorization.
A good rule is to never sign the bottom of a check until you’ve filled out all the other important fields.
Writing a Check Examples
Let’s look at an example of what a correctly formatted check should look like.
DATE 1/1/2023
PAY TO THE ORDER OF Landlord’s name
$2,200
Two thousand two hundred———DOLLARS
MEMO Rent
SIGNATURE Your name
Notice that all of the necessary fields are filled out in the correct places, with extra steps taken to prevent fraud, such as the horizontal line after the payment amount.
There you have it—our step-by-step guide for writing a successful check, as well as our top tips for how to make sure the transaction goes through smoothly.
Good luck, and happy writing!
ProWritingAid makes great writing easy
Easily improve your emails, reports, content, cover letters, and more.