Don’t you hate it when you click “send” on that important email, only to see a glaring grammatical error that you completely missed? It’s happened to all of us, and it never gets any less embarrassing!
A quick spelling and grammar check can make sure that you’re sending an error-free email. But you don’t have to draft an email in a word processor just to use spellcheck. For the millions of Microsoft Outlook users, there is a built-in spellcheck. It can be a little tricky to find, so we’ll cover how to use it step by step.
Microsoft Outlook also works with the ProWritingAid Office add-on for a more complete grammar checker. You can check basic spelling with the built-in Microsoft spell checker, but ProWritingAid’s grammar checker helps improve style and readability. We’ll also cover how to install and use this add-on so you can send well-written and error-free emails every time.

How to Use Outlook’s Spelling and Grammar Checker
One great feature of Outlook is that the learning curve is low if you’re well-versed with Microsoft Word because most Office apps have the same basic format. You can find the Spelling and Grammar check in Outlook exactly where you’d find it in Word.
Outlook’s spelling and grammar checker looks a little different for Windows and Mac users. Let’s look at each in more detail.
Outlook Grammar on Windows
When you open an email draft, you’ll see several tabs at the top. From left to right, these are typically File, Message, Insert, Options, Format Text, and Review.
When you click on the Review tab, a new menu will appear directly below. These menu icons are grouped in several categories, the first of which is “Proofing.” This is where you’ll find the Spelling and Grammar function.
The icon for Spelling and Grammar is a large, blue checkmark with the letters ABC above it. When you click this icon, a dialog box pops up.
You can also bypass these steps and get straight to the spelling and grammar checker by using the F7 key on your keyboard.
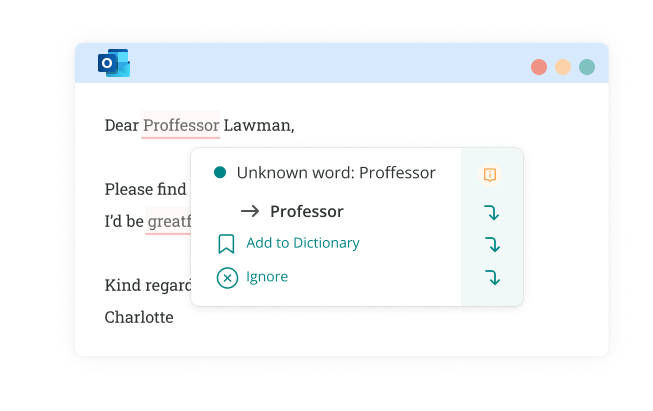
In the dialogue box, each mistake will come up one at a time, along with suggestions to fix them. You can click the suggestion that fits and click a second time to fix. “Change All” will change any instance of the same mistake within the email.
If a suggestion doesn’t work for you, there are three options. You can click “Ignore Once” for that instance or “Ignore All” for all of the same error. Alternatively, you can “Add to Dictionary” if Microsoft doesn’t recognise a word you’ve spelled correctly.
If you want your spelling and grammar to be checked automatically as you write, you can turn on automatic checking in your settings. From the main inbox screen, click File then Options. Under Options, click Mail, then Spelling and Autocorrect. Select the checkboxes that you want for automatic checking.
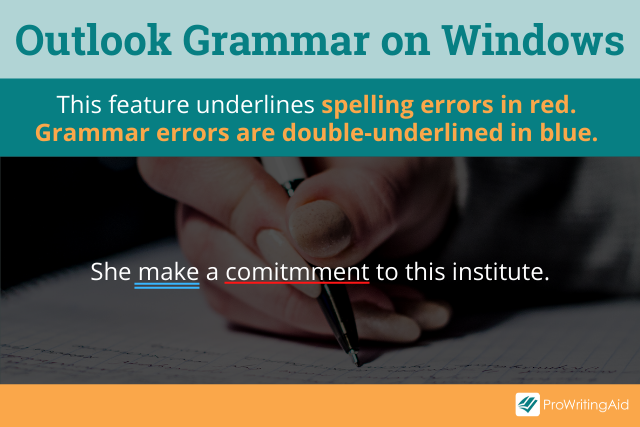
When this feature is turned on, spelling errors will be underlined in red and grammar errors will be double-underlined in blue.

Outlook Grammar on Mac
On Outlook for Mac, spelling and grammar autocheck is a default setting. All you have to do is write your email and your errors will show up with a dashed red or green underline. Red is for spelling errors and green is for grammar errors.
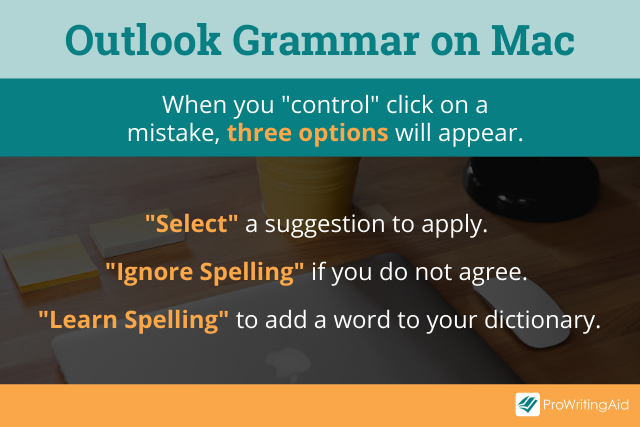
When you “control” click on a mistake, a list of suggestions will appear. You can select a suggestion, click “Ignore Spelling” if you do not agree, or click “Learn Spelling” to add a word to your dictionary.

How to Use ProWritingAid in Microsoft Outlook
Microsoft Outlook only checks basic spelling and grammar. If you want to improve your tone, structure, and style, then use ProWritingAid to complete an in-depth polish of your emails.
Premium ProWritingAid users can download the Microsoft Office add-on. Currently, our add-on only works in Outlook for Windows users, not Mac users.
When you’re logged into ProWritingAid’s website with your Premium account, you can access the software integrations from the homepage. Under the link to the Web Editor, find the Outlook logo which will take you to the download page.
Close out of Word and Outlook before downloading, run the installer, and reopen Outlook. You’ll see a tab in your email drafts called ProWritingAid. When you try to run your first report, you’ll be prompted to log in to your ProWritingAid account. After that, you can use any and all of our reports to check your emails.
It’s easy to check your emails for those embarrassing grammar errors. With a quick grammar check through Outlook or ProWritingAid, you’ll send perfect emails every time.
Well, almost perfect. We still can’t proofread for missing attachments.


