You know we love writing technology here at ProWritingAid. When the folks over at Book Brush told us that they have developed an easy way for writers to create great images for social media, we decided to have a look. And no, we are not affiliates! We just like sharing new technology if we think it will be helpful to our community.
So, let’s have a look.
What is Book Brush?
Book Brush is a platform that provides authors with an easy way to create professional looking images for marketing and social media. No more struggling to convert a book cover from a 2D to 3D image. No more paying a hefty price for someone else to create one visual. Book Brush makes the task of creating marketing images quick and easy.
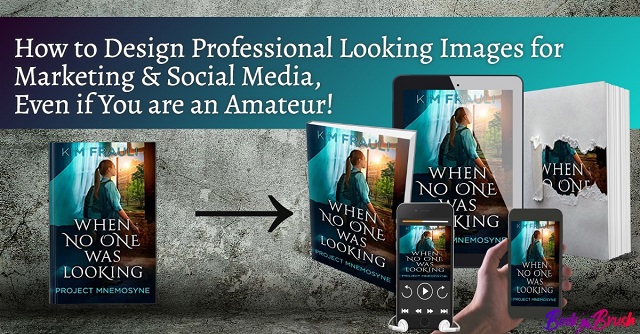
“For those authors who don’t know one end of Photoshop from the other, this is an elegant solution to produce convenient, high quality images for book ads.” — Best-selling author and creator of the Self Publishing Formula, Mark Dawson
Just a quick note: you need to already have a cover designed. This isn’t cover design software, it’s for creating marketing images with your cover design.
How much does it cost?
Book Brush offers a Limited Plan that’s free, which is a great place to try out some features. With the Limited Plan, you have access to a selection of templates, stamps and fonts and you can create three free images per month.
With the Plus Plan ($96/year) you can create and download an unlimited number of images, plus have access to more templates, stamps, fonts and a lot of cool pre-made community templates as well.
There’s a 30-day money-back guarantee, so you can play around with all of the functionality before making a final decision.
How to get started with Book Brush
Register for a free account
Register for a free account on Book Brush and sign in. There is a ‘How to get started’ tutorial video that’s just a few minutes long. It’s a good way to get up and running quickly.
Upload your book cover
In the Account page, go to My Books, upload your cover design – it’s as easy as drag and drop – and you can get started creating images.
Click ‘Custom Creator’ to create images
Once you’ve uploaded your book cover, the Custom Creator is the place to go – just click on ‘Custom Creator’ along the top task bar.
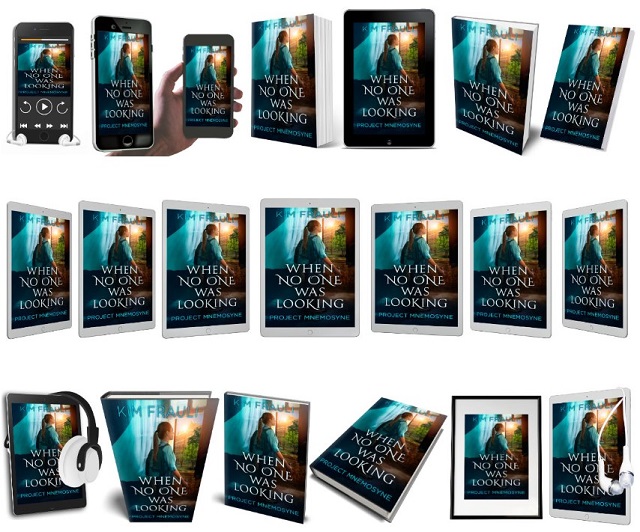
You can use the 3D Creator to convert your 2D book cover to a 3D book cover with just two clicks of your mouse. With the free plan, there are two book template choices. When you upgrade to the Plus Plan, you have over 50 book templates at your disposal, including cover reveals and images that make it look like a reader is holding your book.
Here is a sample of the Plus Plan choices:
How to use Book Brush
We’re going to take you through a step by step guide to show you how it actually works. This is what your toolbar looks like:
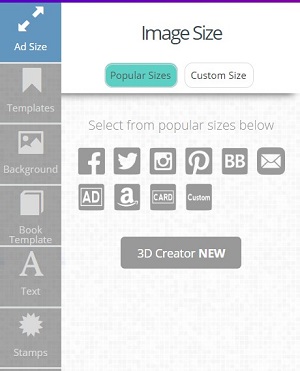
- Choose an Ad Size from the task bar on the left side. Book Brush offers pre-sized ads perfect for Facebook, BookBub, Instagram and more. Or you can enter your own custom dimensions. The ad will appear in the work area on your screen.
- Next, click Book Template on the task bar and choose from over 50 book templates. Click the one you’d like to use to display your book, then click to select the book cover that you uploaded earlier and your book will be displayed in the work area.
- Once you have your book in the image, you can move it around and resize it, too. Hold the shift key to maintain the aspect ratio of your book. If you’d like to add more than one book cover to your image, you can repeat this step.
- Next click Background on the task bar. You can search from over one million images, upload your own, or simply add a background color.
- If you’d like text in your image, click Text on the task bar. Enter your wording, then click Edit Text Styling to alter font, text color, size and more.
- Click Stamps on the task bar to add logos, review rating stars and much more to your image.
- You can save your work as a template to work on again later. To do this, click Save as Template at the top.
- When you are satisfied with your creation, click Download at the top to save the image to your computer.
Don’t feel like you have a creative streak?
No problem: the Plus Plan offers you pre-made Community Templates for ads where you can simply insert your book cover, edit any text and download.
Here are a few quick steps on how to use them.
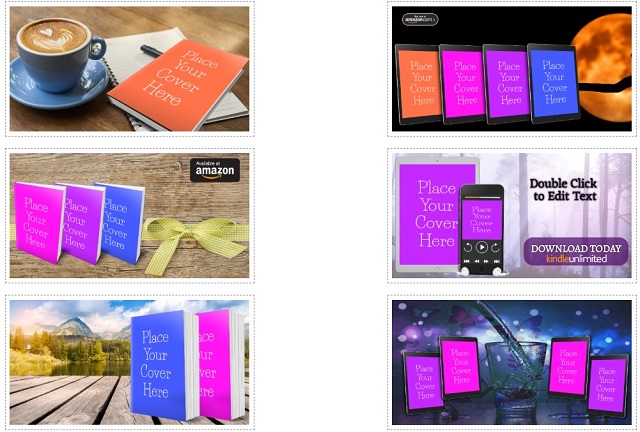
- Click Templates in the task bar on the left and choose Community Templates.
- Click on a template to place it in the work area. You can also filter here by genre or the platform where you will place your ad (e.g. Facebook).
- Double-click the book template where it says ‘Place Your Cover Here,’ click the Change Cover button and select your book cover.
- Make any edits. Once you are satisfied, click Download at the top to download to your computer.
There’s a Video Creator, too!
The Plus Plan also has a Video Creator with five video credits per month. This allows you to add a video effect to an image: movement helps catch someone’s eye and draws them to your ad.
Click ‘Video Creator’ on the top and follow these steps:
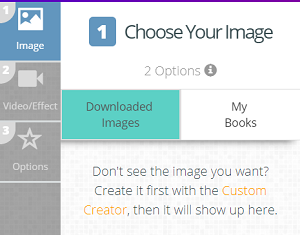
- Choose either your book in My Books OR an image that you created in the Custom Creator and previously downloaded under Downloaded Images.
- Search for a video effect. Hover over it to see what it will look like or click to place it.
- The Options tab in the task bar on the left will allow you to adjust the transparency and the length of the video.
- Click Download at the top to download to your computer.
Is it worth it?
One of the problems that self-publishing authors often run into is the expense of creating and updating their marketing images. Those of us who are more comfortable with the written arts frequently find graphics very difficult. So, Book Brush helps simplify the process. Try it today!

