
Here at ProWritingAid, we hear from writers in our community that they find the prospect of starting their novel daunting. It's understandable! There's a lot to think about. To plan, or not to plan? How do you get past that first page? What do you do when the words just won't come?
So, this month, we reached out to one of our favourite writing experts, Katja L Kaine of The Novel Factory to help us figure out where to start!
The Novel Factory helps guide you through writing your novel from premise to final draft. And it's not just theory - you can learn all there is to know while completing your first manuscript. Or, if you've been writing for years and are looking to pick up some new tips, you'll find heaps of useful resources, templates and interactive activities to help novelists save time and get to grips with both the big picture and the tiny details.
Let's get you writing!
Over to Katja...
Writing a novel is a long, hard slog and, while we at The Novel Factory are certainly not averse to a bit (or a lot) of hard work, we like to make sure we’re as efficient as possible and aren’t wasting time where we don’t need to.
One way we believe writers can save themselves from the risk of writing for months or even years and ending up with a spaghetti mess of a manuscript, is to follow some kind of formula, or roadmap, which helps avoid wasted time staring at blank screens, going down blind alleys and writing dozens of scenes that have no place in the final novel.
Of course, none of this is set in stone and some people may follow the formula to a greater or lesser degree, but most people would agree that it’s better to have a map and deviate from it then to have no map at all.
So, I hear you cry, what is this magical formula of which you speak? With no further ado, let us delve into the roadmap.
We will just touch on each element here, but for full detailed articles on each step, take a look here.
- Step 1: The Backbone - aka. the premise
- Step 2: The Skeleton - aka. the universal storyline
- Step 3: Character Introductions
- Step 4: Short Synopsis
- Step 5: Extended Synopsis
- Step 6: Goal to Decision Cycle
- Step 7: Character Questionnaires
- Step 8: Locations
- Step 9: Advanced Plotting
- Step 10: Character Viewpoints
- Step 11: Scene Blocking
- Step 12: Draft One
- Step 13: Theme and Variations
- Step 14: Draft Two
- Step 15: Final Draft
Step 1: The Backbone - aka. the premise
The premise is a single line which expresses the central idea of your novel, including character, situation, objective, opponent and disaster. If you'd like to learn how to write a premist that will hook readers, agents, or editors every time, you can watch a webinar all about it with Story Development Consultant, Jeff Lyons here!
Step 2: The Skeleton - aka. the universal storyline
The skeleton is based on the Hero’s Journey, and has all the elements which are generally found in bestsellers and blockbusters. This goes from introduction to the protagonist’s world, through call to action, mentor teaching and various other steps up to the final conflict and return home. You can use a template to help build your skeleton.
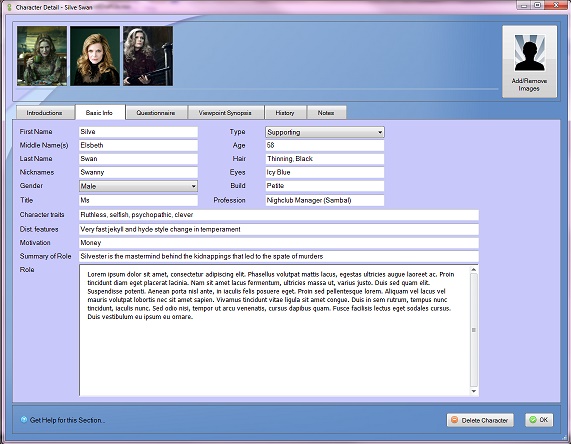
Step 3: Character Introductions
With a basic plotline in place, it’s time to start working out key traits your major characters. This will include full name, age, appearance, summary of role and motivation.
Step 4: Short Synopsis
With some characters starting to formulate themselves, you can expand your skeleton into a single paragraph short synopsis, with outlines of the major events and scenes.
Step 5: Extended Synopsis
The extended synopsis adds more detail into the short one and fills a full page. By building the story up in this way you ensure the structure stays balanced and you have a better chance of keeping the pace and progress of the plot.
Step 6: Goal to Decision Cycle
You really need to read a whole article or chapter on the goal to decision cycle, but it’s essentially a magic micro rule of thumb you can use to ensure your plot keeps racing along. In essence you simply follow these six steps:
Goal – your character must have something they either desire or desire to avoid
Conflict – someone or something stops the protagonist achieving their goal
Disaster – something happens that not only takes the protagonist further than ever from their goal, but preferably adds on extra layers of peril
Reaction – following the disaster, the protagonist has an emotional and or physical response
Dilemma – the hero should have two choices, neither of them good, so the reader can empathise with the hopelessness of their plight
Decision – the protagonist chooses from the options available – which gives them a new goal… rinse and repeat
Step 7: Character Questionnaires
Around this time it’s good to have a little break from the plot and work on a bit of character development. Using questionnaires helps you think about aspects of your character that you might not normally, such as what’s in their pockets or their fridge or how they treat people worse off than them.
Step 8: Locations
Your novel needs to take place somewhere, so it’s good to spend a little time thinking about the locations from their own point of view, rather than only as the stage for your puppets. This often allows you to discover details that will drive plot complications and to find elements that will tickle the sensations and bring the world to life.
Step 9: Advanced Plotting
By this time you will probably have some idea for sub-plots, important items and different threads of the story. This step lets you take the time to iron out all the details and make sure what you’ve got so far adds up and doesn’t leave any loose ends.
Step 10: Character Viewpoints
This is a really great step that many Novel Factory users have commented on as one of the most positively impacting factors in the writing of their novel. Quite simply, you go through each scene from the point of view of each of the major characters. You may be surprised at how much this adds depth and realism to your story as these characters take on lives of their own, rather than just being tools to further your main plot.
Step 11: Scene Blocking
This is the bridge between synopses and drafts. It’s a bit more than an outline, but you’re not quite writing prose yet. In this stage you write a brief outline of each scene with roughly what happens and what is said, noting down any sparks of genius you might have in description or dialogue. Your blocking will highlight any major plot holes and will give you more ideas for subplots and detail.
Step 12: Draft One
Okay, time to roll your sleeves up and get going on the first draft. If you’ve done all the previous steps, you will find that this first draft takes a fraction of the time it would otherwise, and not only that – your first draft will be in much better shape. The first draft is just ‘shovelling sand into a box so that later you can make sandcastles’ (Shannon Hale), so don’t do any editing as you go, don’t worry if it’s riddled with clichés, just plough on through and get to the end as fast as you can. Aim to complete the first draft in about a month, going a rate of around 2,000 words per day, with a few days off.
Step 13: Theme and Variations
With your first draft under your belt, you’ll probably start to notice some themes have appeared, which you can now consciously develop. These themes may be in the form of colours, birds, political leanings – it’s your book and your psyche, so they could be anything. See if you can develop these themes to reflect and enhance your characters and plot.
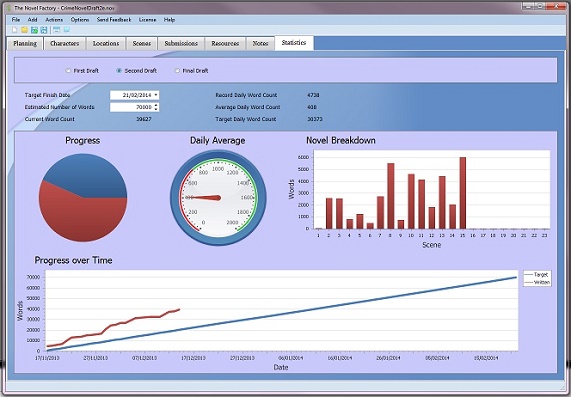
Step 14: Draft Two
Time for the second draft. This is going to be much more of a slog than the first draft. It’s going to take longer and it’s going to be slower going. That’s because now you should be trying to make every word count. Treat this like you are working on the final manuscript. Compare your prose to your favourite authors, show it to your writing group. Polish every single word. Once you’re done, take a few months off and do something completely different.
You can make this stage a little easier by using an editing tool like ProWritingAid! It'll highlight all of those clichés you left in your manuscript, as well as picking up on areas of your writing that a real copyeditor would tell you to revise.

ProWritingAid's Writing Style highlights common writing errors, such as: over-reliance on adverbs, passive and hidden verbs, repeated sentence starts, dialogue tags and much more. If you can eliminate these, you'll get a more sophisticated piece of writing as a result.
Ready to start editing like a pro?
Step 15: Final Draft
So, you thought you were working on your final draft last time? Wrong. When your few months’ break is up, it’s time to go back and read over everything you’ve done. Areas for improvement and horrible glaring errors and elegant brainwaves will leap out at you, begging to be dealt with. Deal with them. Then deal with more. Keep polishing and improving that manuscript until you’re tapping at the keyboard with the bare bones of your fingertips and you know every word by heart. You can find an in-depth guide to editing your manuscript here.
Now, your manuscript is ready to submit.
Are you prepared to write your novel? Download this free book now:
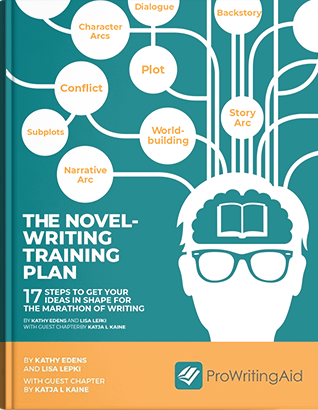
The Novel-Writing Training Plan
So you are ready to write your novel. Excellent. But are you prepared? The last thing you want when you sit down to write your first draft is to lose momentum.
This guide helps you work out your narrative arc, plan out your key plot points, flesh out your characters, and begin to build your world.

Be confident about grammar
Check every email, essay, or story for grammar mistakes. Fix them before you press send.